Here is how to get Better at Photography in just 2 months. If you have been following my work, you might have noticed that the quality of my photographs has gone up drastically in the past few months. This has been possible by making some really tiny tweaks to my ways of working and I wanted to share those with you all.


Here are some changes I made:
1. Shooting at the right time:
This is the most important tweak I made to my clicking. The time at which you shoot literally defines the shot. So these days whatever I click it is either during sunset or sunrise time. Period! These days, I don’t take my camera out if it is in the mid-day now!
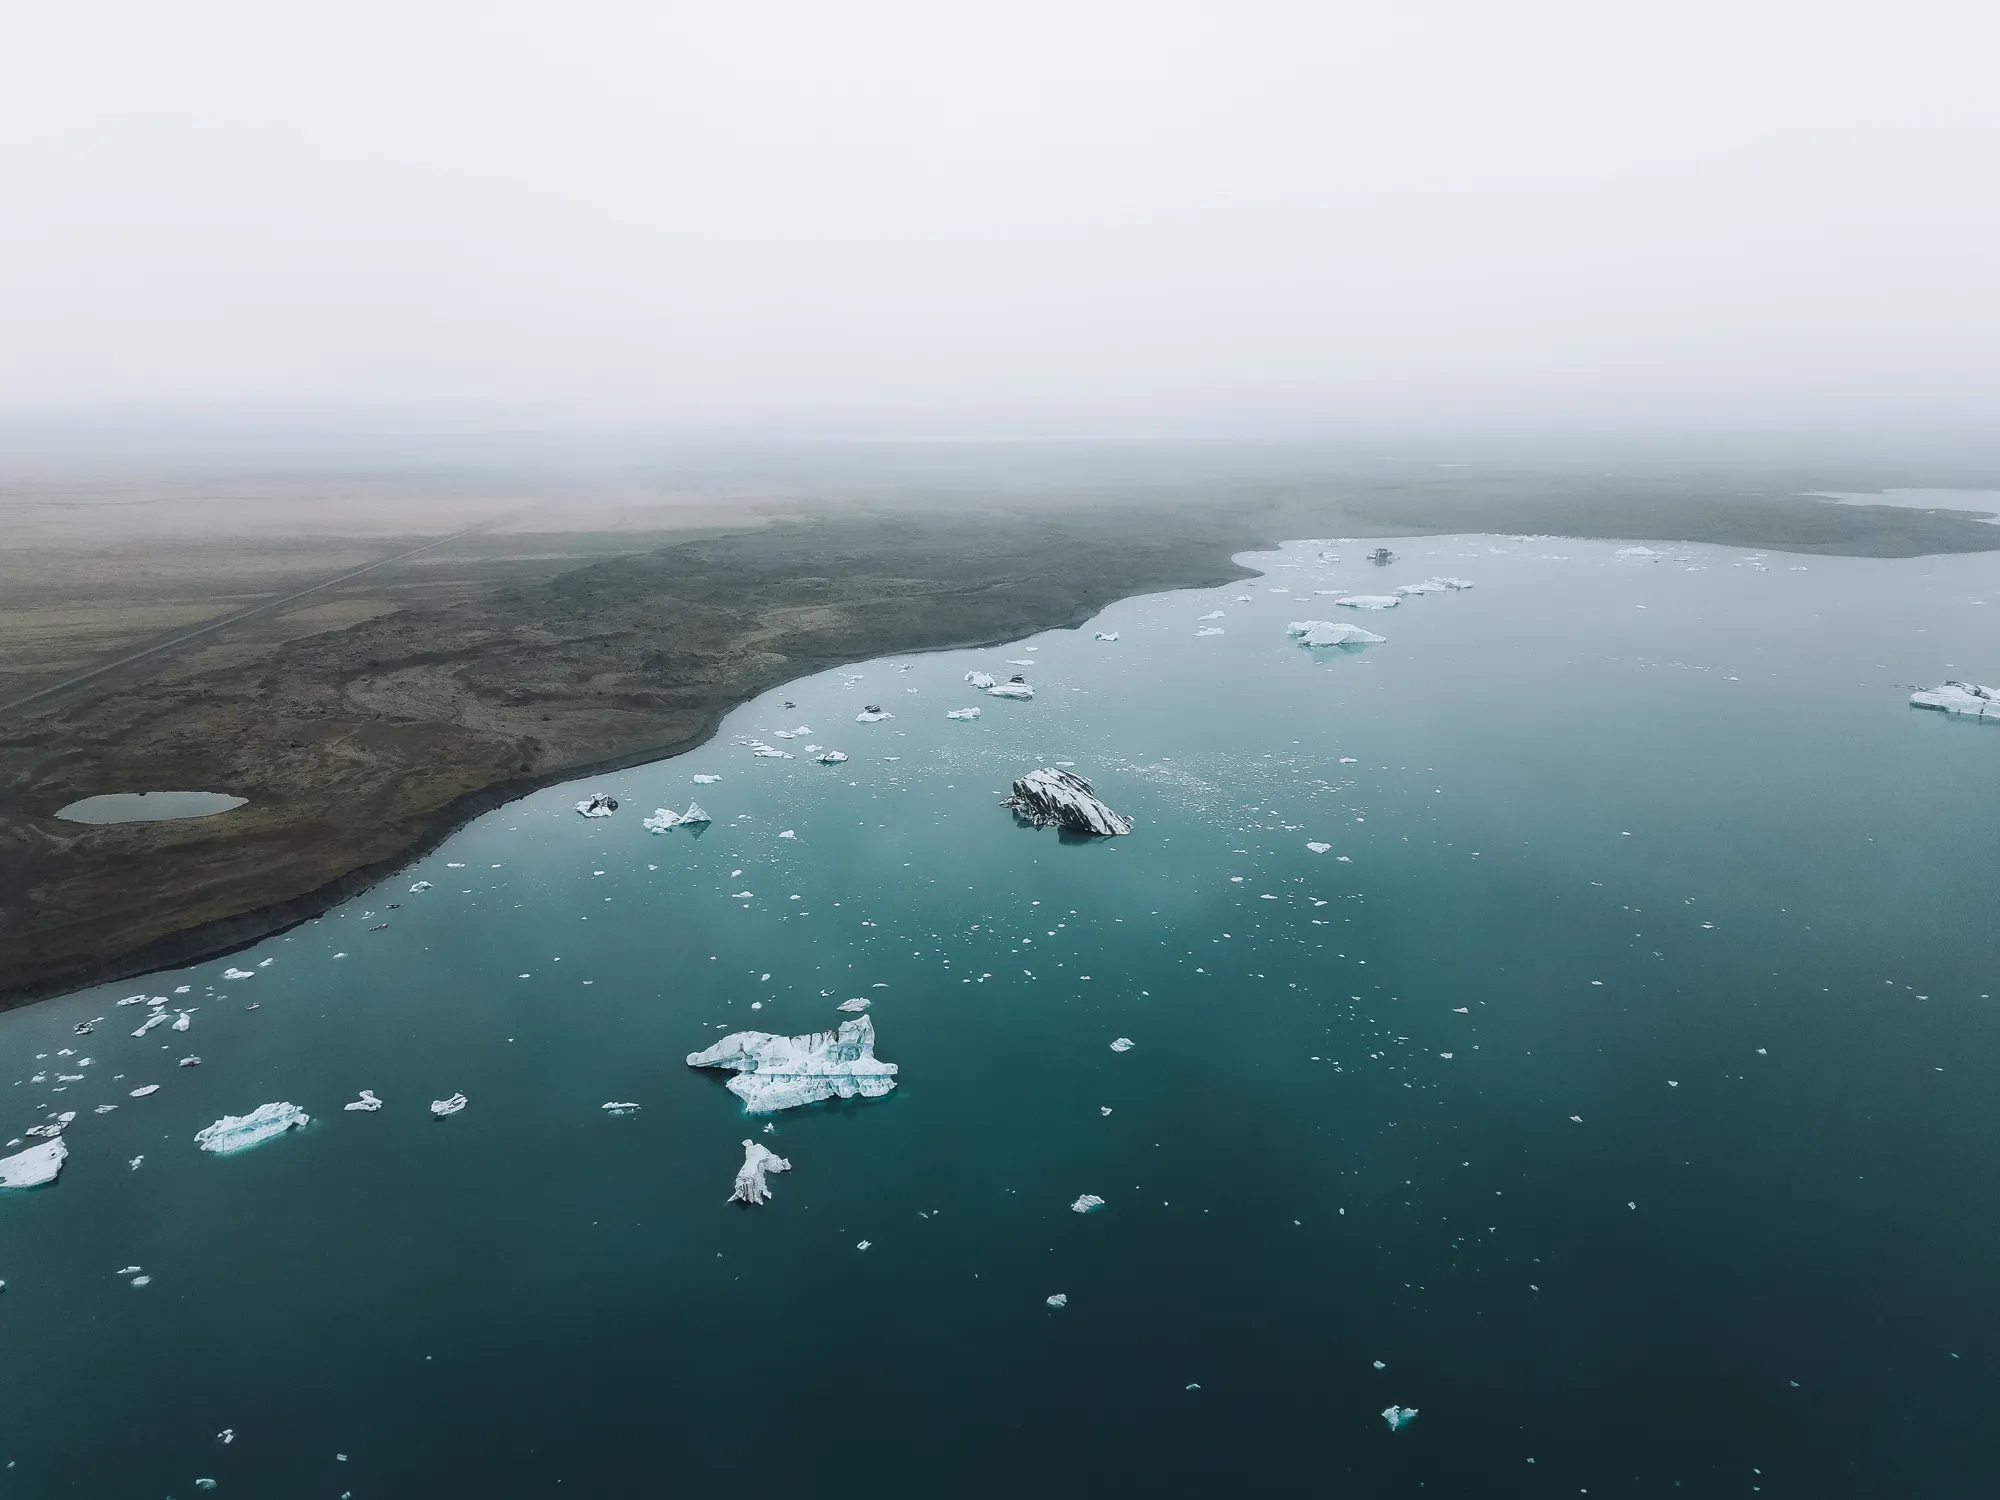
You will find some of the photos that I planned in the link here
2. Planning the shoot:
Planning the shoot in advance gives you an edge in taking control of light, the composition of the frame, etc. I take the help of a few apps like Phototime and Photopills to determine the golden hours time and direction of the sun and moon respectively. I tried Photopills upon a recommendation by a friend and I must say this app is by far the most useful app for planning a shoot. Do this! and you already got better at photography in 2 months!
3. Light:
I really can’t stress enough about this. Light plays a HUGE role in photography. Nowadays, when I look for compositions, I always try to add lights and shadows to my frame. It adds to the dynamic range of the photo and makes it look more dramatic. I only use natural light for most of my photos. So clicking early in the morning or late in the evening helps in adding a sideways direction to the light in the photo vs. vertically downward direction during the harsh daylight times. Also, the light is much softer during the golden hours eliminating the harsh shadows in the image.
4. Go minimalistic:
Minimal shots are quite underrated I feel. It is not really necessary to have a whole lot of things in your frame for two reasons:
- When there are too many elements in a frame, it often distracts the viewer from the subject
- Easy to edit when there are fewer element
Pro Tip: Never include anything unnecessary in the photo. NEVER! If there is some element present in your photo, it should add to the framing of the image. If not, simply eliminate it while clicking preferably if not, during editing
5. Click through Objects:
It took a while to get used to this. Adding a foreground makes your image stand out. The more layers you have on your photo, the more dynamic range. Adding a foreground adds an extra layer to your image hence making it more pleasing to the eyes.
6. Editing
I have been spending quite some time improving myself at editing. A few things that I changed lately to my editing flow:
- Choose one or max of two major colors on the photo (preferably contrast ones) and concentrate only on those two while editing. I have this color wheel handy whenever I edit to choose the colors or probably change the hues of certain colors to make them look nicer.
- Making my pictures softer: I have not tried it much before. But now that I do it, I can’t get enough of it. Softer images look way better! All you need to do is to reduce the clarity and texture in the editing panel. Don’t get me wrong. This is not going to make the photos non-sharp. Dropping the clarity gives a much cleaner look and gives out-of-focus areas a bit of a dreamy look and I love it!
- Use radial and gradient filters to play with the lights and shadows of your images. Putting an example below to demonstrate the importance of these filters
- Add a bit of fade by raising the blacks a touch in your tone curve
- Adding a vignette always draws attention towards the subject and isn’t what we need for our photos?
Trust me! Just following the above tips lets you get better at Photography in 2 months.
You can find more of my work on my Instagram where I share more about how and where I click.


